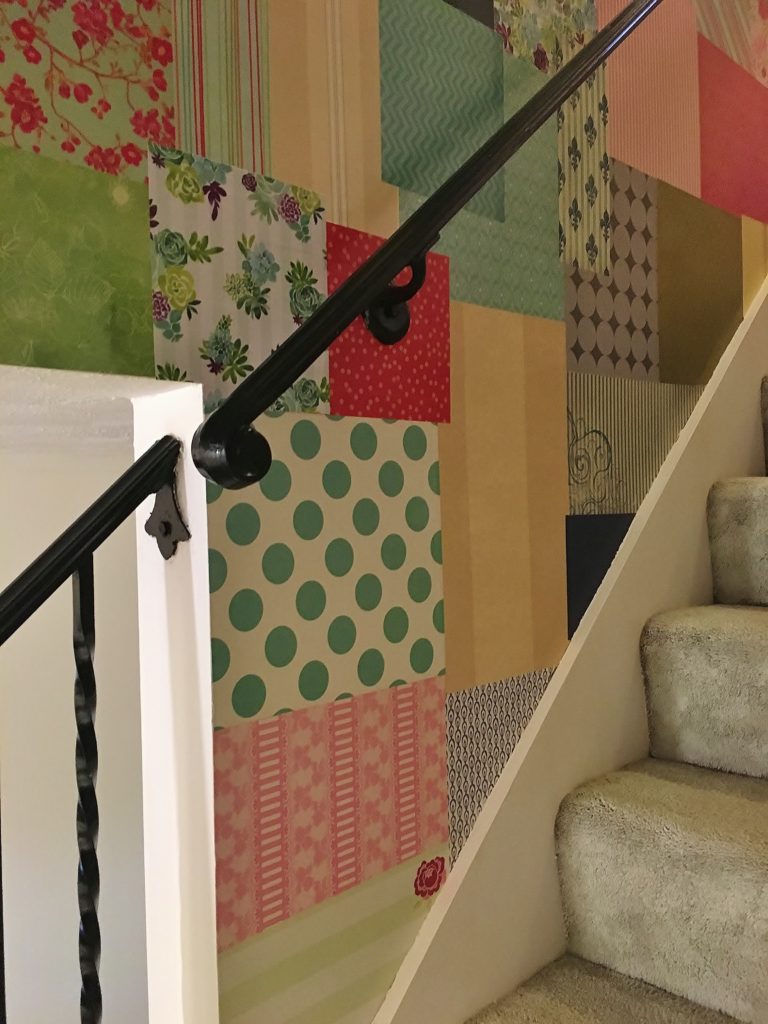
I Covered Our Stairwell With Scrapbook Paper
Did you know scrapbook paper can be used as wallpaper? When we bought our house we knew it was a fixer upper. Unfortunately we had to replace the roof, boiler, and a couple other big ticket items right away, so the state of the walls were the least of our concerns…
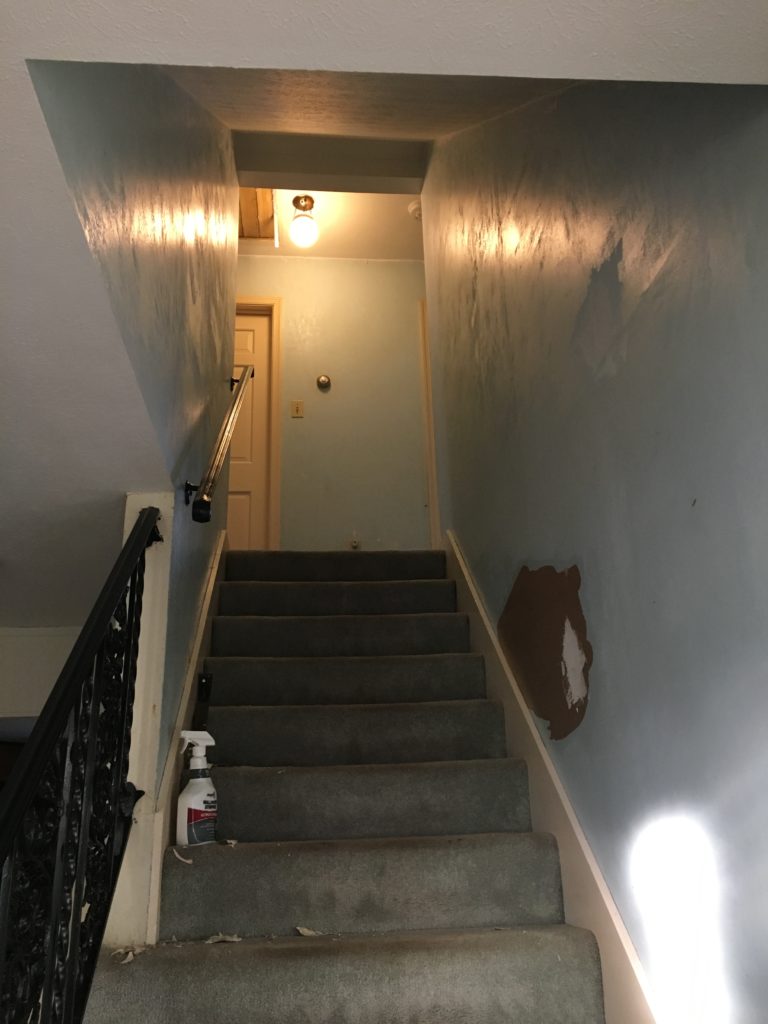
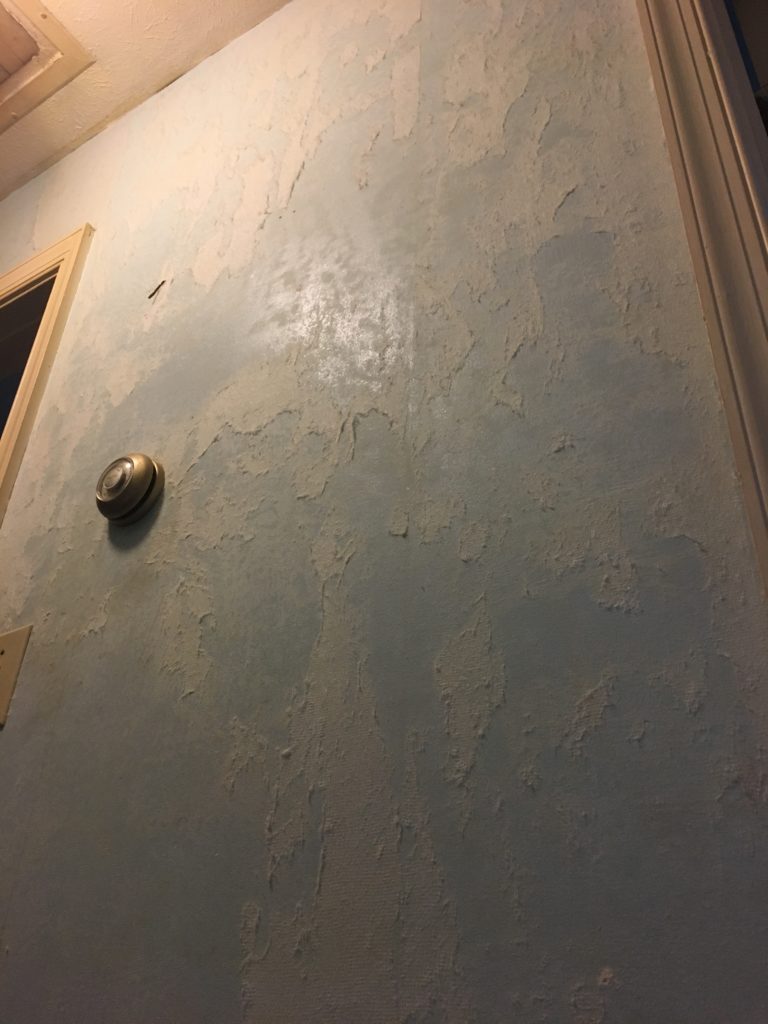
The walls were covered in glue, fuzz, and cuts from where the previous owners tried to remove the previous paper. After living with this for nearly a year I had to do something, but on a budget.
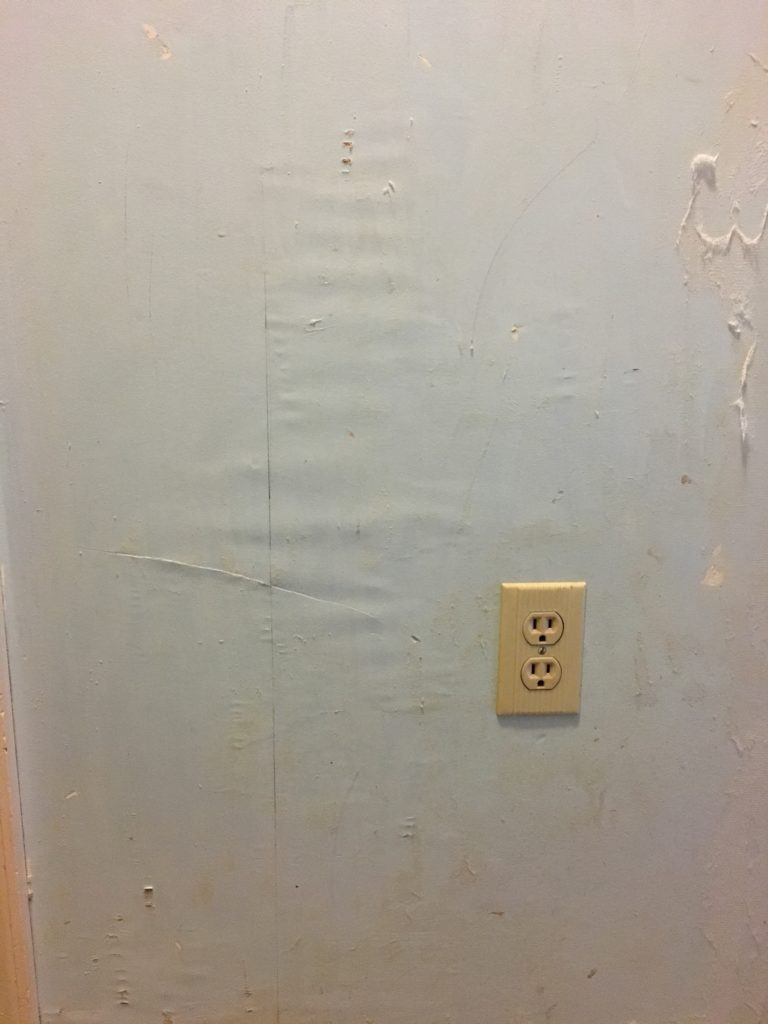
First I tried cleaning off the fuzz but quickly realized realized the drywall paper was damaged beyond repair and just needs torn out and replaced in the future.
So I went to the craft room and grabbed my stash of scrapbook paper instead. Paint wouldn’t cover the holes and bubbles, but I’ve always wondered if scrapbook paper could be used as wall paper….Turns out it can! Here’s how:
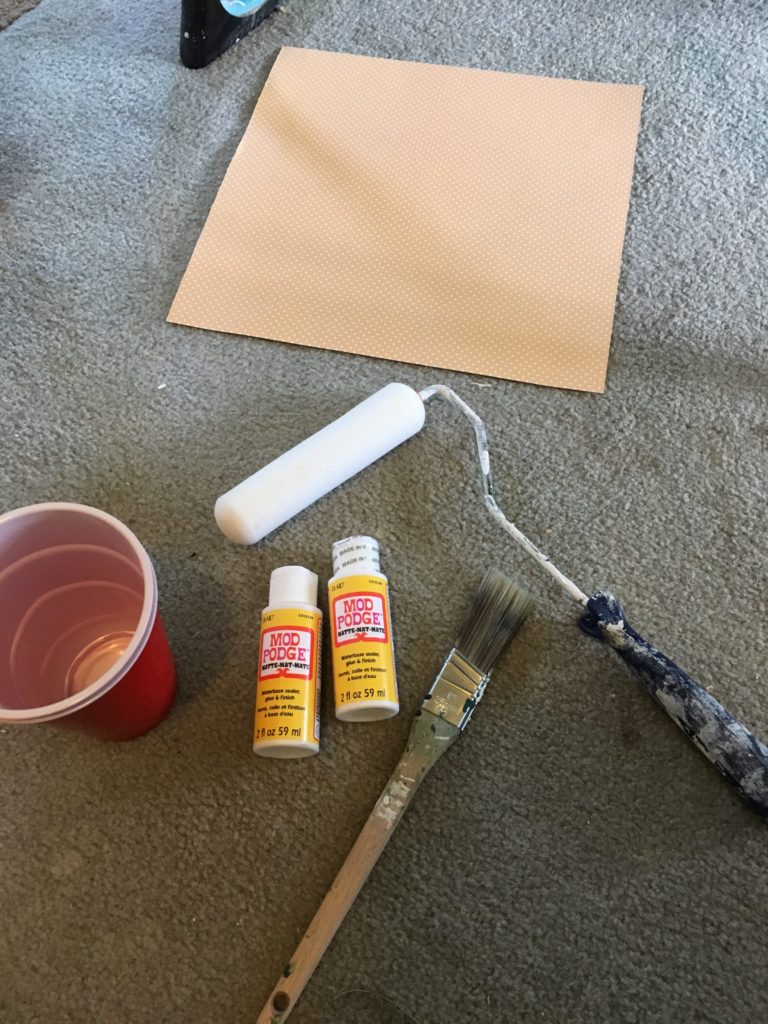
To do this I used
- A small foam roller
- Mod Podge
- Water
- A paint brush
- Lint free rags
- Exacto knife
- and A LOT of scrapbook paper!
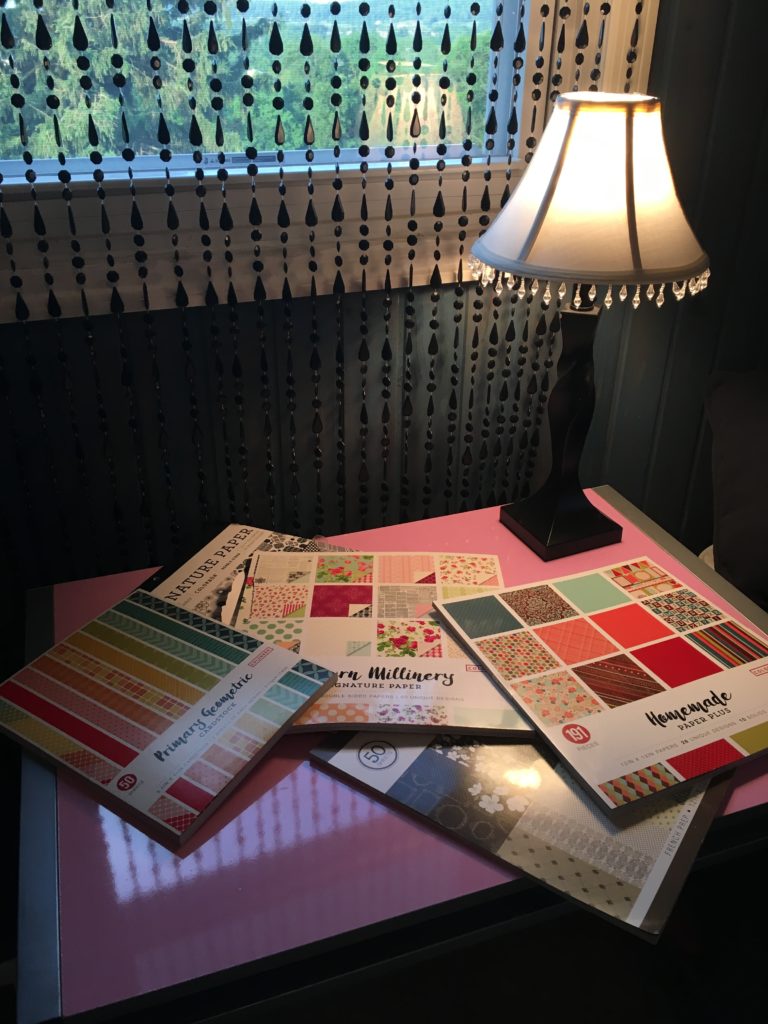
I didn’t have nearly enough paper for the entire stairwell so luckily I found Colorbok scrapbook paper pads at Walmart for $5-$10 per book with 50 sheets of brightly colored patterns each.
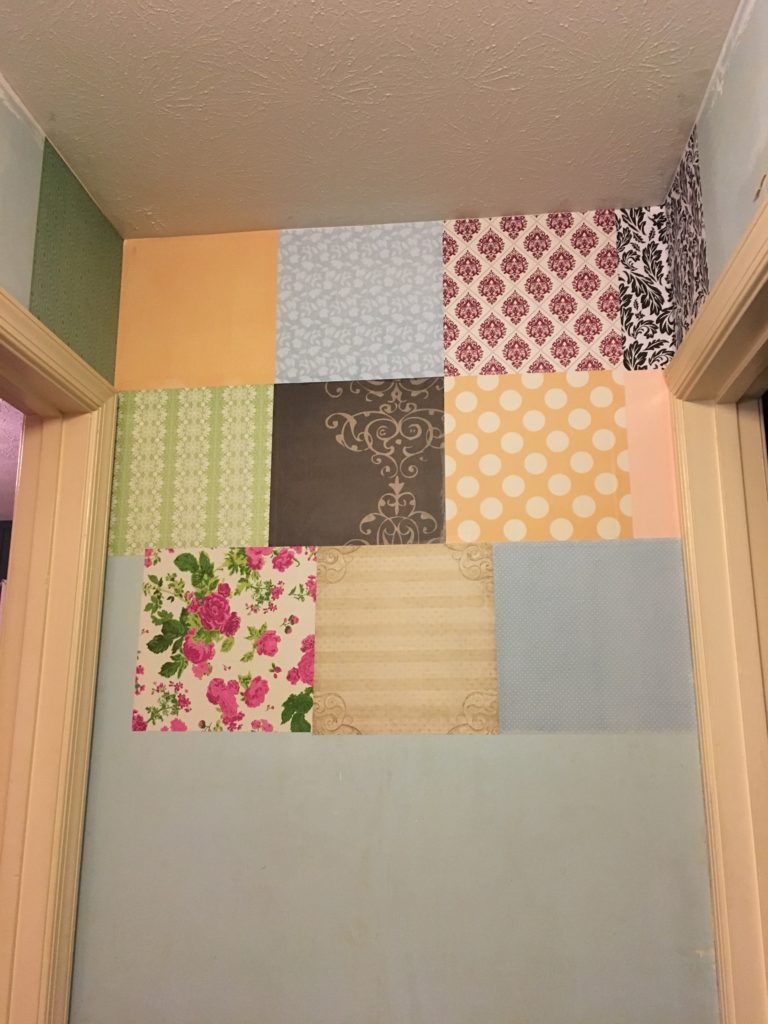
The first challenge I ran into was getting the paper the adhere to the wall without bubbling. I found out the hard way that you can’t just glue the paper to the wall if you want it to stay flat. TO KEEP IT FLAT:
- Take a damp, lint free rag. You don’t want it to be soaked, but there needs to be enough water to get the paper wet.
- Wipe the rag over the entire piece of paper, front and back.
- Immediately after wetting the paper, take a brush with the glue* and paint it evenly onto the part of the wall you plan to put the paper. *Make sure to water down the Mod Podge to help it spread easily. I used a mixture of about half water half glue.
- Carefully place the paper onto the wall where the glue it, doing your best to get it flat.
- Use the foam roller to get any bubbles out.
After using the foam roller you may notice bubbles to begin appearing again in a few minutes…don’t worry about them or try to get rid of them! Paper expands when it gets wet. What you see bubbling is the paper expanding, however when it dries it will flatten out again.
This process need to be done with each individual piece of paper. It was tedious, but well worth it!
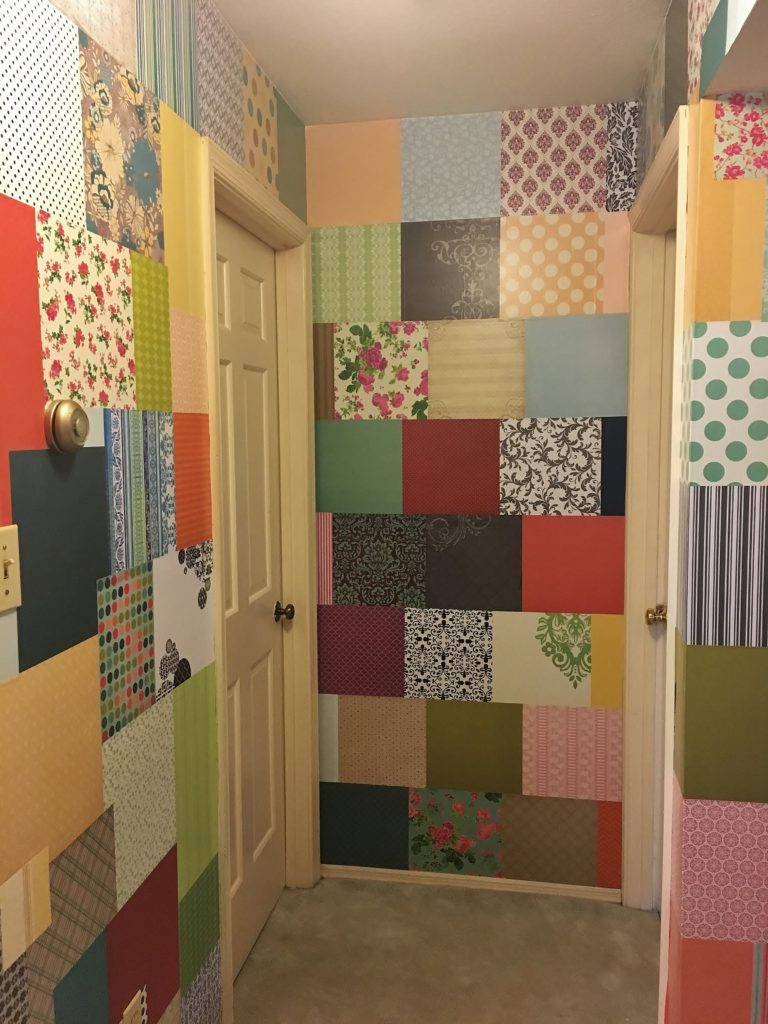
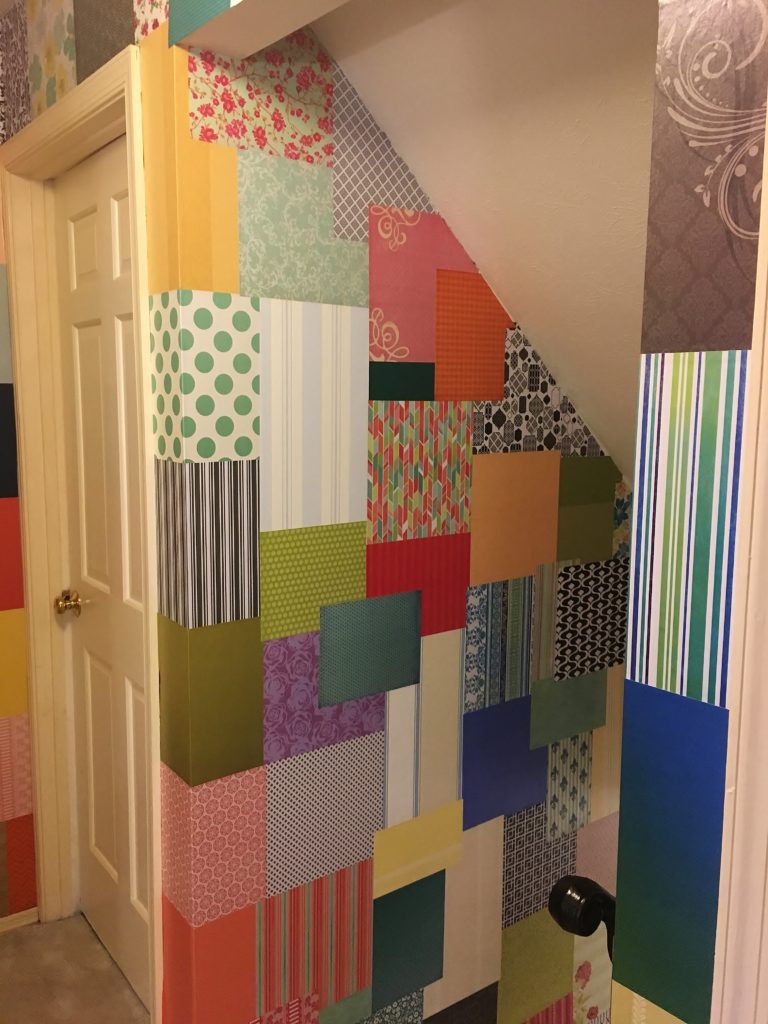
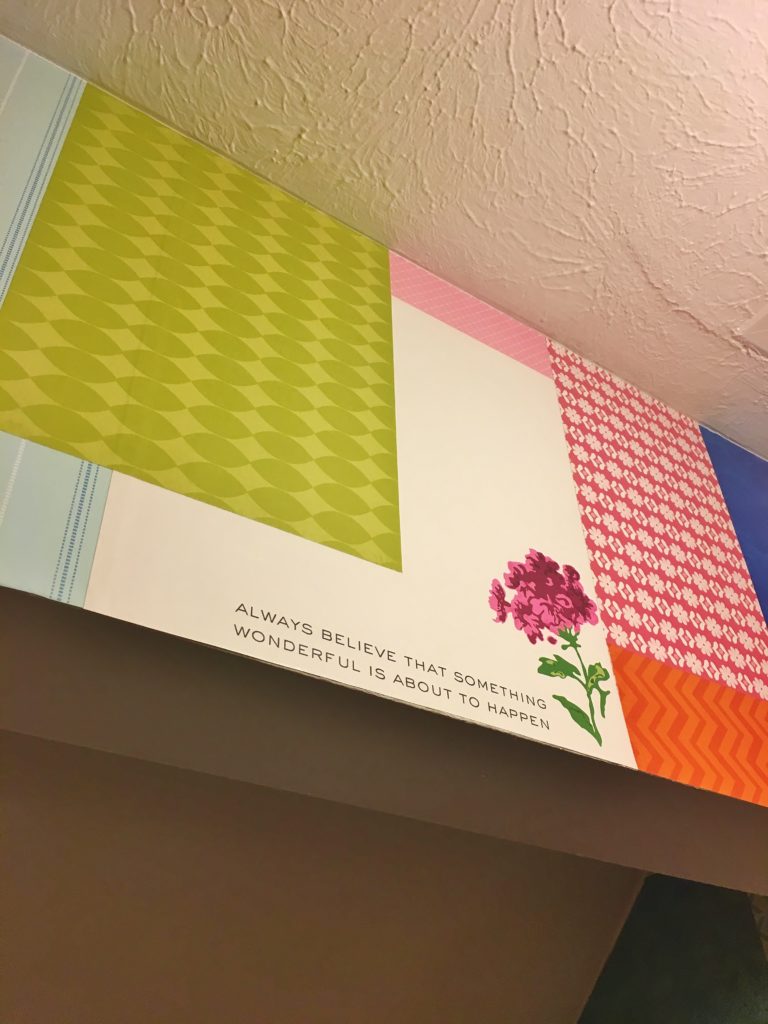
Another issue was trying to find patterns and colors that actually look nice together. If I had a ton of money to go out and buy the exact colors I wanted this process would have gone way faster. Instead I had no idea what colors and patterns were in the books.
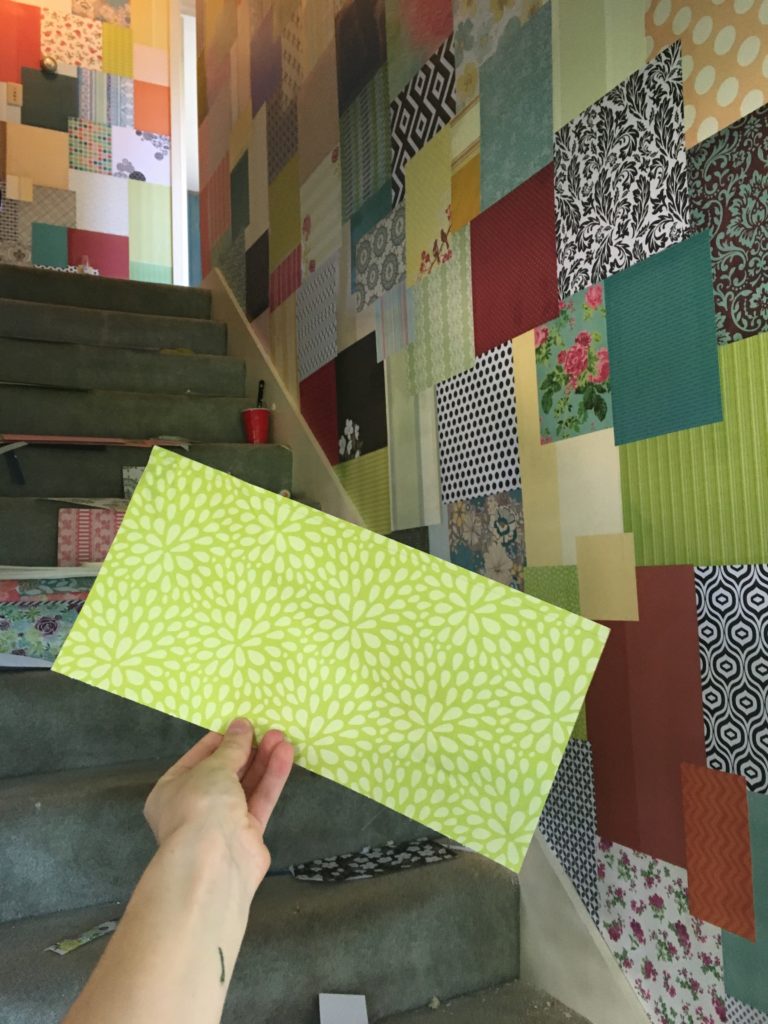
It was like putting together a puzzle! To fit the paper to edges and corners, use the exacto knife to cut the piece first, before gluing or getting wet.
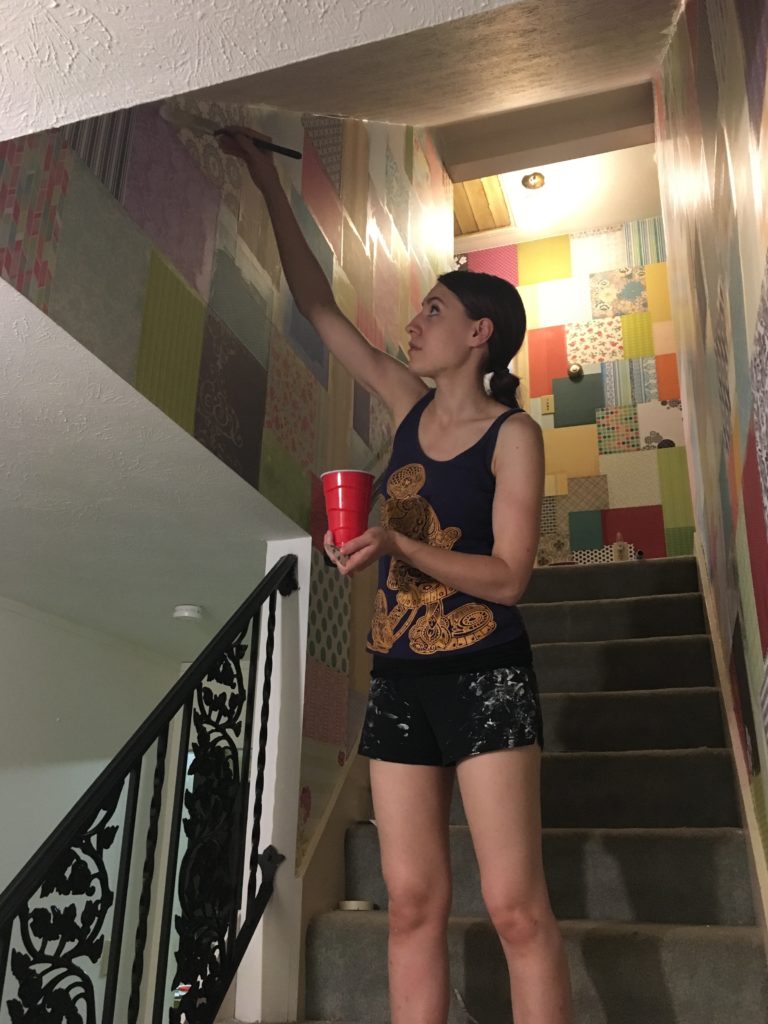
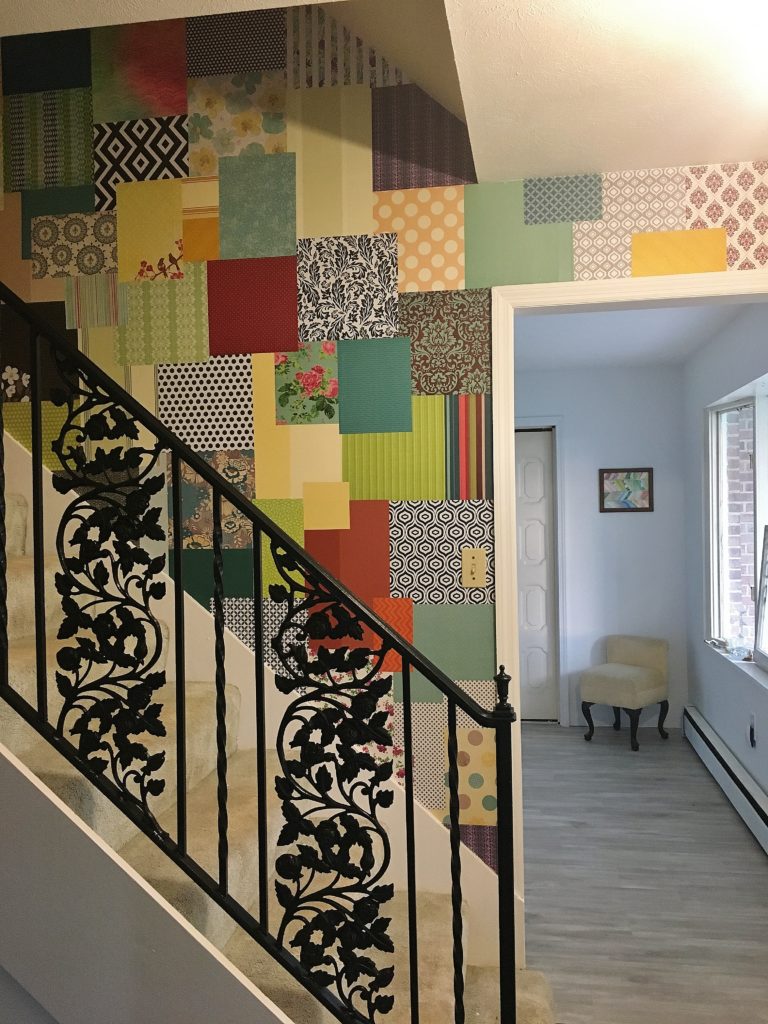
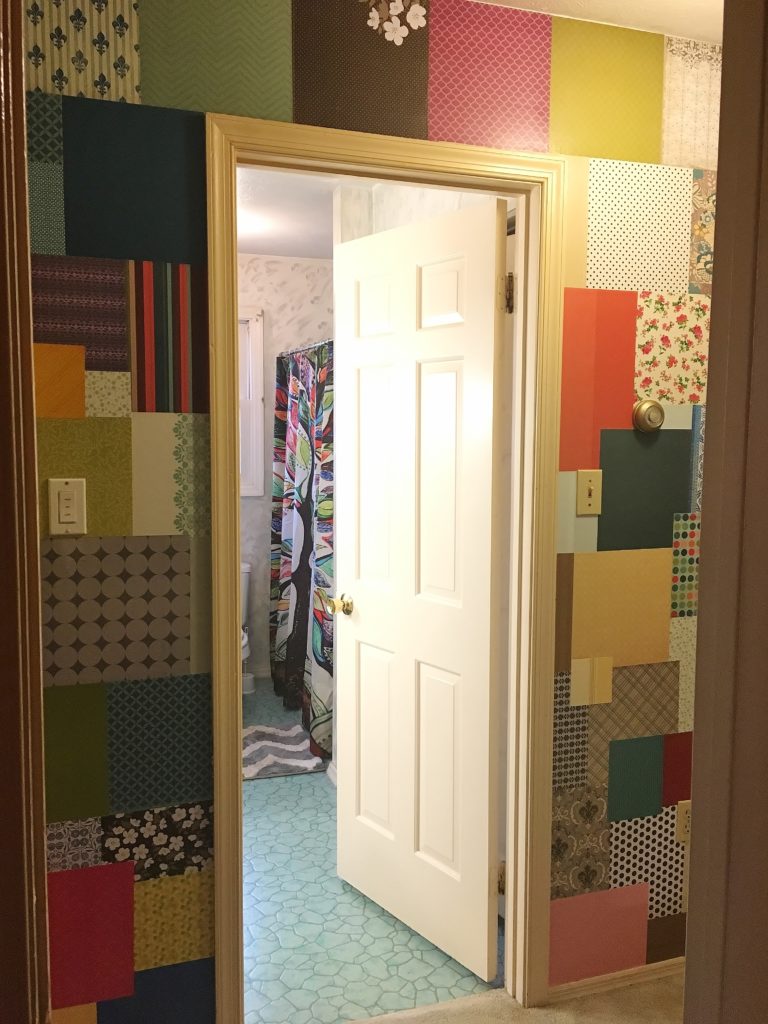
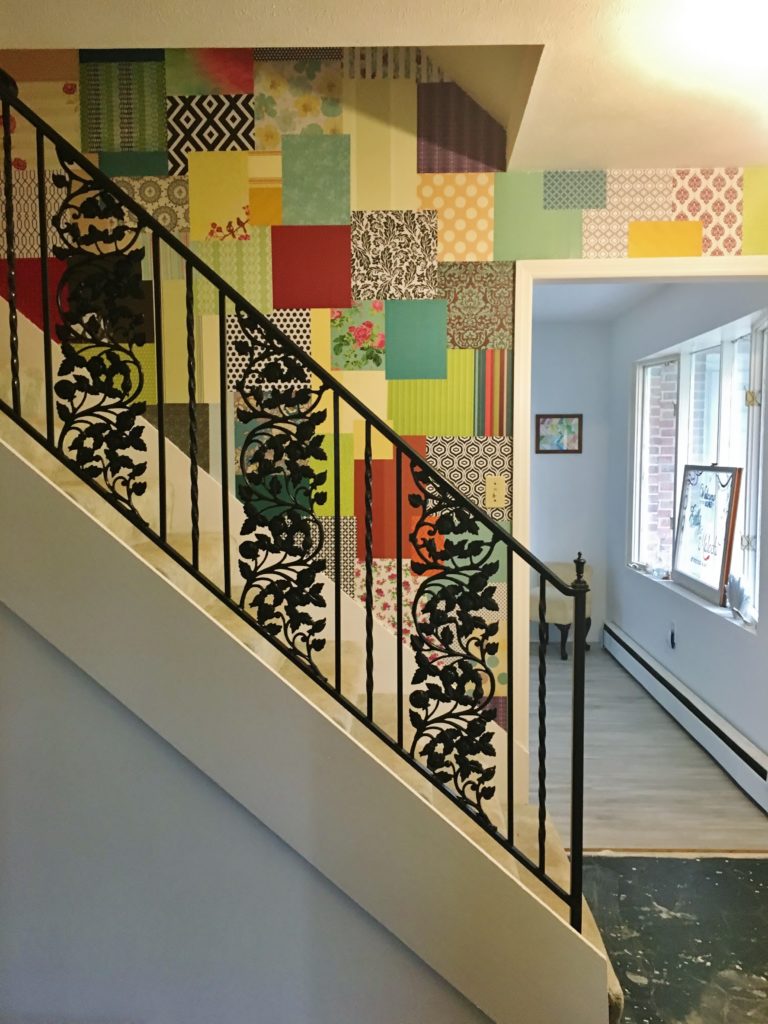
After all the paper was in place and dried, I added top coat of glue to help waterproof/seal it.
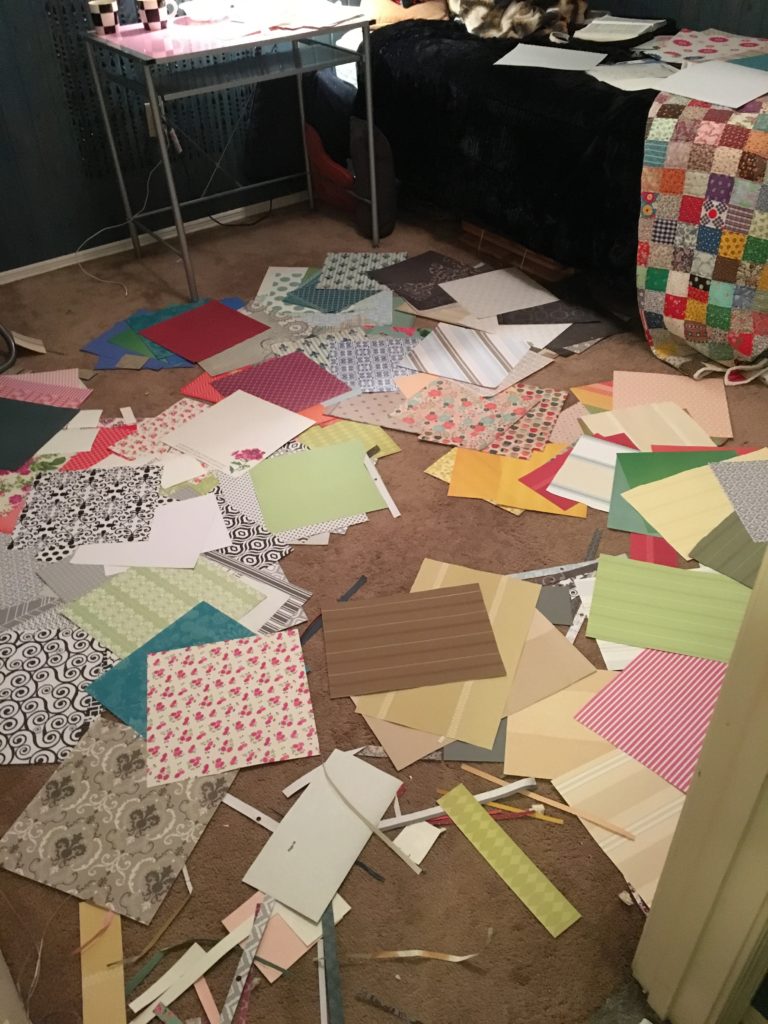
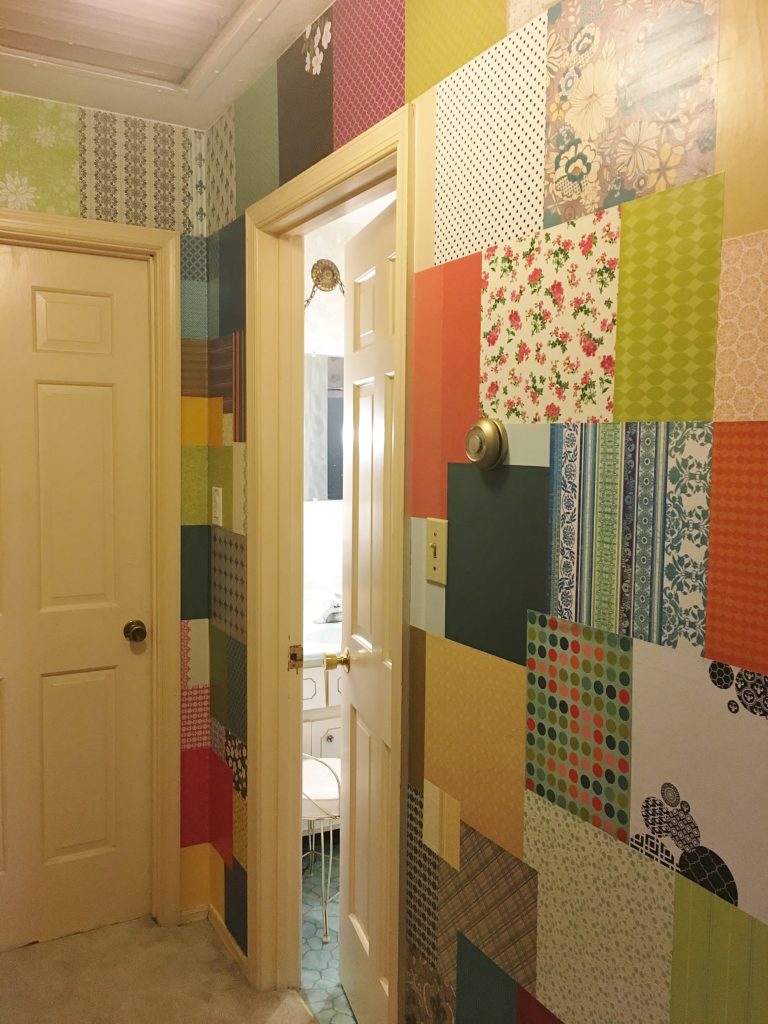
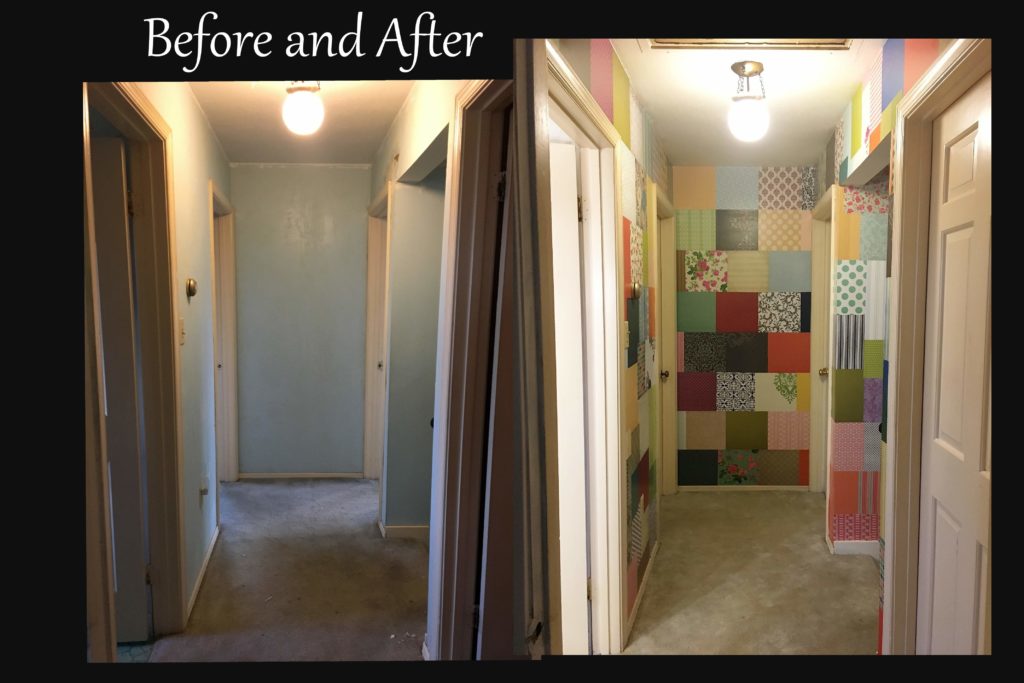
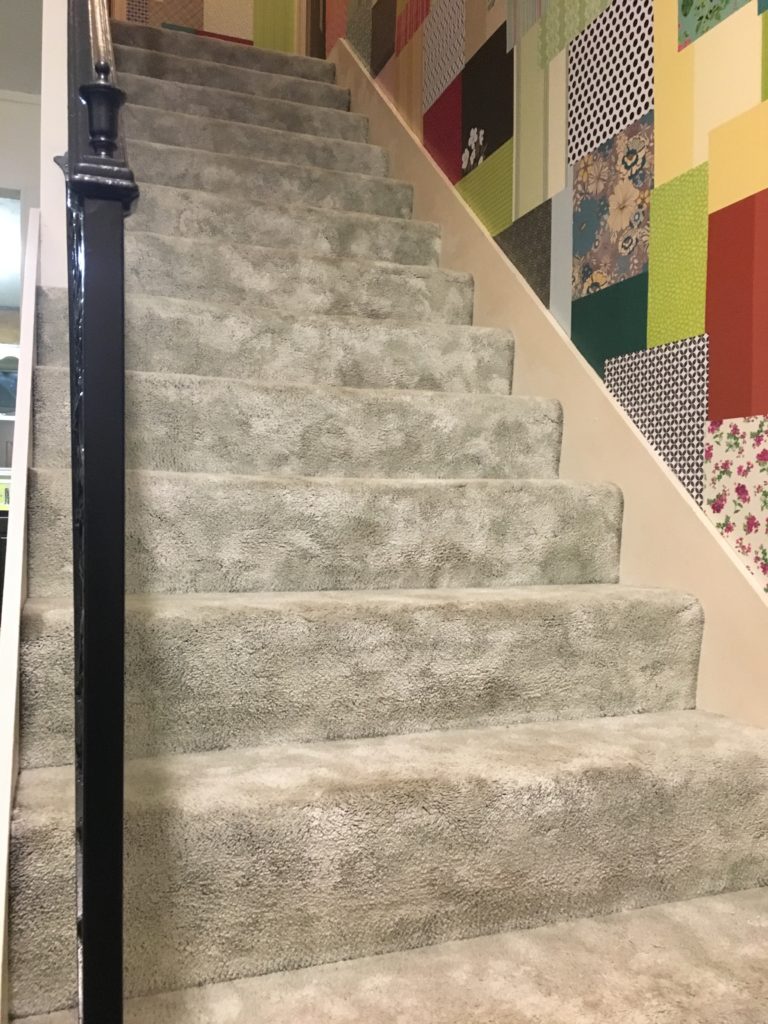
Paper was everywhere for days. But the end result was well worth it:
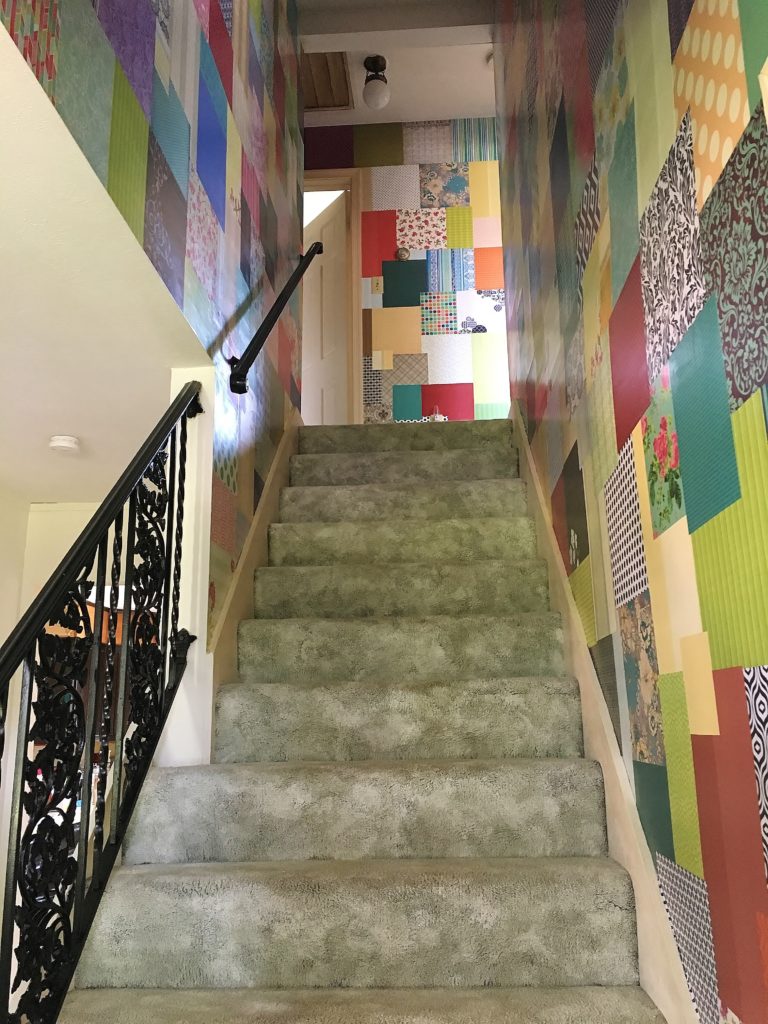
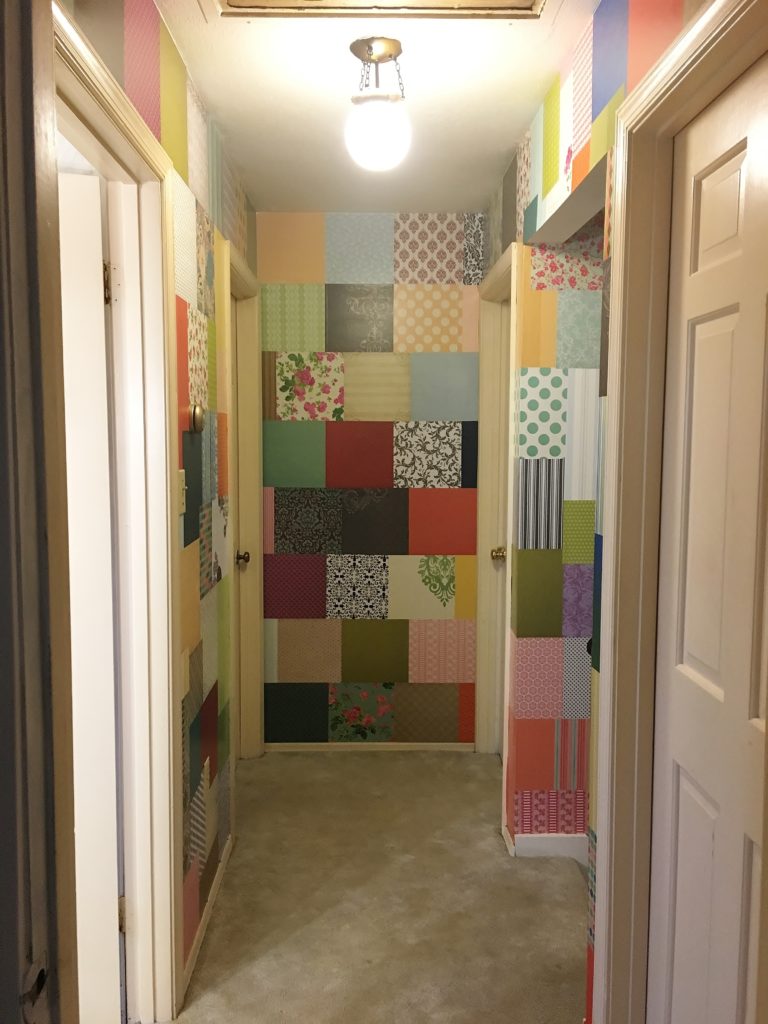

Did you also notice the carpet? Again, this entire project will eventually get torn out when we have the time and budget, but the carpet was in the same gross condition. Instead of ripping it up, I decided to paint it with leftover primer:
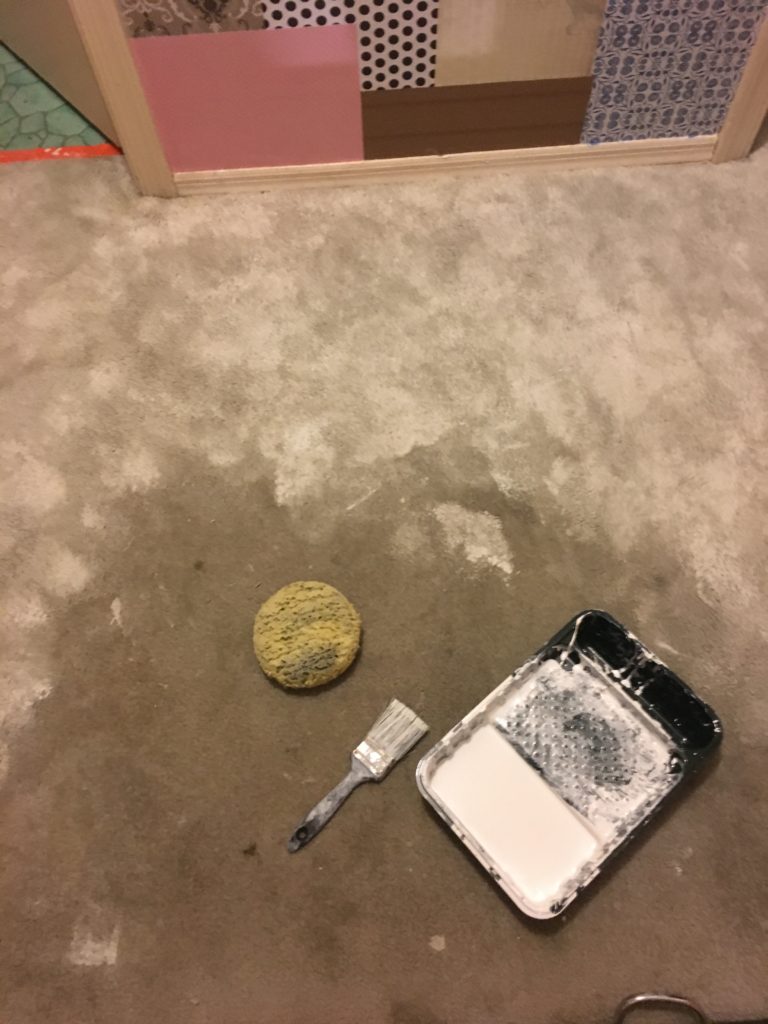
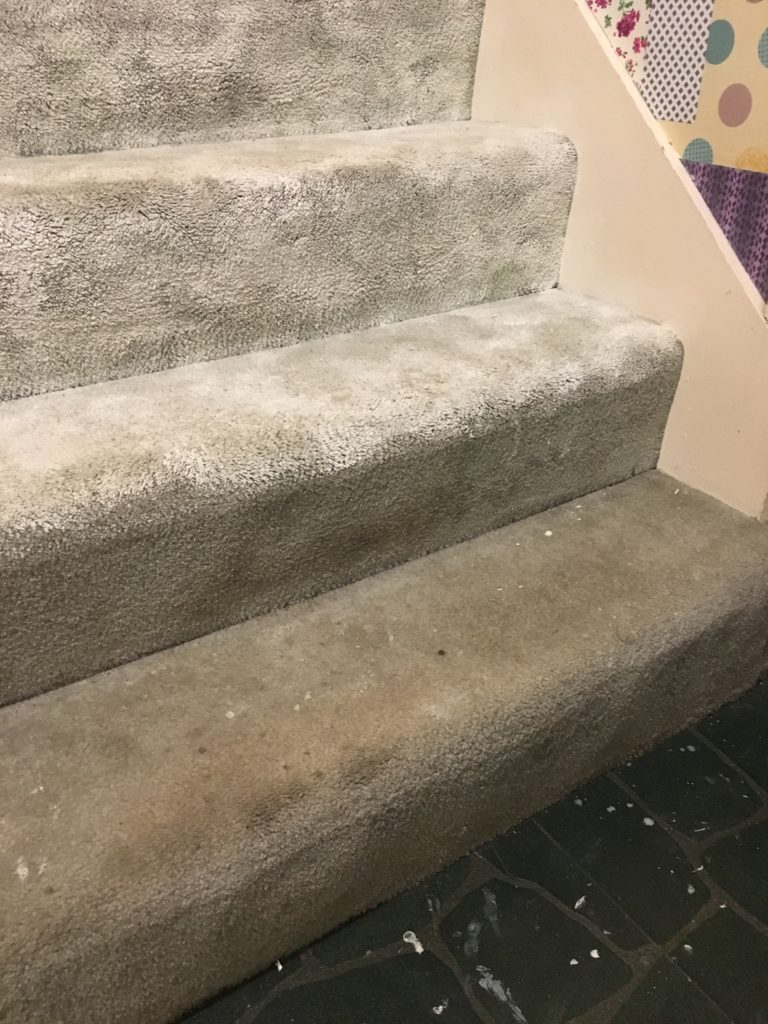
By taking a brush and damp sponge I mottled the carpet with the paint and successfully hid all the stains, dirt, and grime…until we can replace it at least!
The difference in color is incredible. Do I recommend it? Long term, probably not. At first glance it looks nice, but if you look closer you can tell it’s painted. On a budget it worked nicely to disguise all the spots until we can rip it out. Also, it isn’t as scratchy as you would think!
What do you think? Would you try this? I love color and pattern so this scrapbook quilt is definitely my style. In the future when we tear it out I plan to do an accent wall in the color scheme we pick for the house!